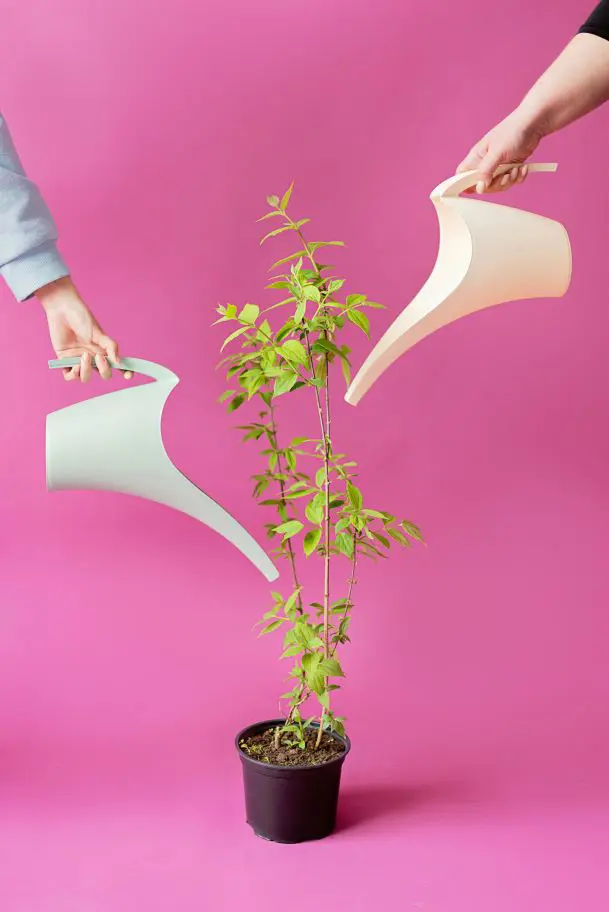
Plant lovers are always thrilled to marvel at a tiny seed transforming their favorite plants. This process might be long and demanding, but the outcome is what gives you the patience and determination to keep going. No matter the input, the success rate is 50-50. How would you react to finding out the correct way to germinate seeds successfully every time?
Yes, the magic of witnessing those tiny seeds into thriving plants is something you have been anticipating for months. These moments are valued and cherished by gardeners of all levels. Be it overflowing vegetable beds or a vibrant balcony container garden, germination is the first crucial step, and this guide will help you do just that.
Here, we have discussed various ways to equip you with techniques and knowledge to successfully germinate seeds indoors and outdoors. These insights allow you to cultivate a bountiful harvest or a flourishing display of blooms. Let's begin!
How to Germinate Seeds Outdoors?
Planting seeds outdoors in direct sunlight is a great way to get a head start on your garden. This can give you the pleasure of enjoying the satisfaction of nurturing life from the very beginning. As you are determined to transform those seed packets into vibrant blooms and delicious produce! Here's how to get started with germinating seeds outdoors:
Step 1. Check Your Seeds:
• Timing is key
Some seeds thrive in cooler spring weather, while others prefer the warmth of summer. So, before you grab your shovel, read the instruction manual for ideal planting times.
• Choose high-quality seed
Choose seeds from reputable sellers, as fresh, healthy seeds will have the best germination rates.
Step 2. Prepare Your Soil:
• Pick the perfect spot
Begin your quest by finding the perfect stop for your desired plant in your garden that receives at least 6-8 hours of sunlight daily.
• Clean up the area
Thoroughly remove weeds, debris, and any leftover plant material from previous seasons.
• Loosen the soil
Use a shovel or rototiller to loosen the soil to ensure proper drainage and aeration.
• Enrich the soil
Add a few inches of compost or aged manure to the planting bed and mix it well with the native soil. This will provide essential nutrients for your growing seedling sprout.
• Level the surface
Rake the bed to create a smooth, even planting surface.
• Water thoroughly
Give the prepared bed a good soaking so the soil is moist. Your intention here is to keep the soil wet, not soggy.
Step 3. Plant Your Seeds:
• Seed packet wisdom
As we discussed earlier, it is wise to understand your seed beforehand as some seeds need light to germinate and should be pressed lightly onto the soil surface. So, read the seed packet instructions carefully before moving your shovel.
• Spacing it out
The seed packet will also recommend proper spacing between plantings. This ensures healthy growth without overcrowding.
• Sowing the seeds
Sow the seeds according to the packet instructions and cover them gently with soil. Then, use a trowel to make furrows or individual holes at the recommended depth and spacing.
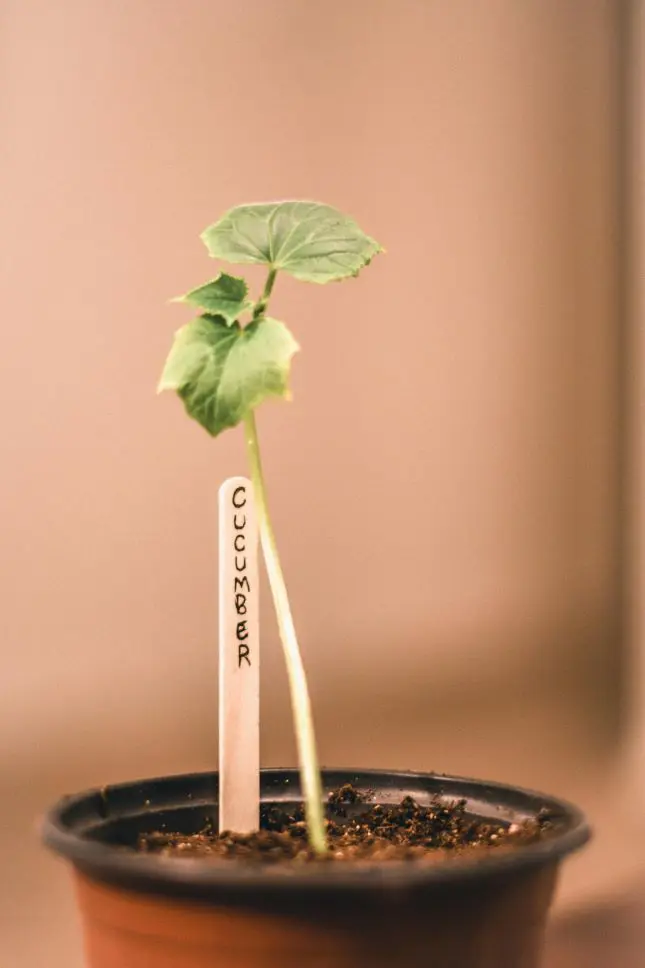
• Label your plantings
Use plant markers to identify what you've planted in each section of your garden.
Step 4. Water Your Planting Area:
• Keep it moist
Water the planted area gently with a mister or watering can with a rose attachment to avoid disturbing the seeds. Aim for consistent moisture, but avoid waterlogging the soil.
• Monitor closely
During germination, be especially attentive to watering needs as the top layer of soil dries out.
Step 5. Patiently Wait:
• Sprouting magic
Germination times will vary depending on the type of seed. Some seeds may sprout within a week, while others may take several weeks.
• Weed control
Gently remove any weeds that compete with your seedlings for water and nutrients.
Bonus Tip:
Once seedlings have established a few sets of true leaves, you may need to thin them out according to the seed packet recommendations. This ensures proper spacing for healthy plant growth. With a little planning and care, you can successfully germinate seeds outdoors and enjoy a thriving garden!
How to Plant Seeds Indoor?
Germinating your seeds indoors is like embarking on a captivating journey that allows you to witness this miracle firsthand. It will give you the pleasure of nurturing these miniature marvels into healthy seedlings that flourish into vibrant flowers, fragrant herbs, or even delicious vegetables for your table. Here's how you can do it-

Step 1: Preparation
Preparation is an important first step in germinating seeds, so you must be mindful while gathering the needed supplies. Thus, following the correct procedure is the best way to save your effort, time, and money!
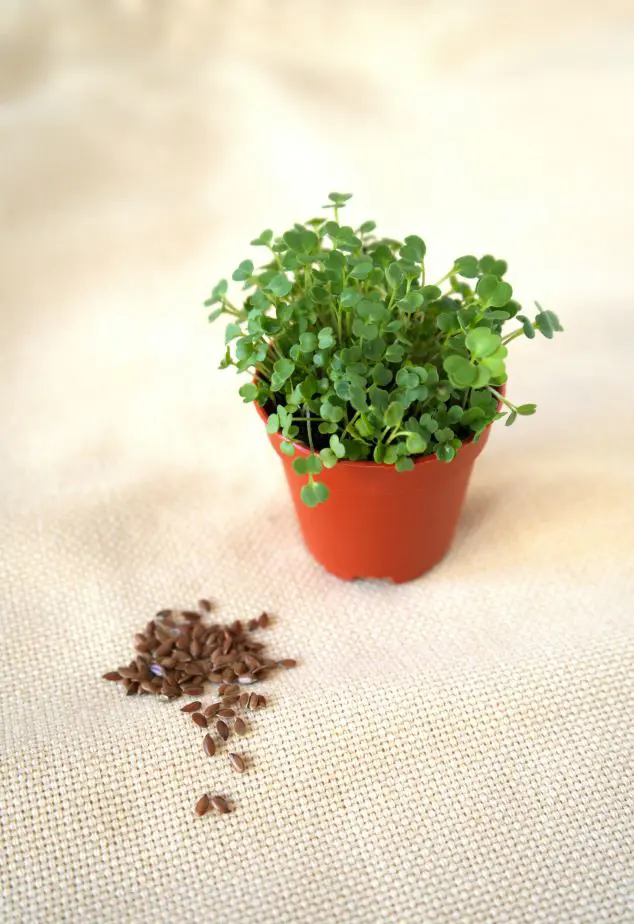
• Choose your seeds
Select high-quality seeds from a reputable source while considering your desired harvest time. Choose varieties suitable for starting indoors, like tomatoes, peppers, basil, zinnias, marigolds, and cosmos, which are beginner-friendly and generally easy to germinate.
If you are a beginner, choosing the correct seeds is important. So, lookout for a reputable source and consider your desired harvest time before you select the variates of seeds to germinate indoors, such as-
- Lettuce
- Broccoli
- Cauliflower
- Kale
- Eggplant
- Cabbage
- Cosmos
- Basil
- Okra
- Cilantro
- Dill, etc
• Pick your containers
Picking a suitable container for your desired seed is equally challenging. So, choose seed starting trays or pots with good drainage. As you are new and don't want to spend a lot, recycling is the best option to learn. So, choose unused containers and poke drainage holes in the bottom. It will make a nice starter kit.
• Select your growing medium
The seed starting mix is different from regular potting soil. It has to be lightweight and sterile, providing good drainage and aeration for germinating seeds.
• Moisten the mix
Now, dampen the seed in a bucket or tub and start mixing it with water until it's crumbly and moist but not soggy. The process will be easy if you compare it to squeezing a damp sponge; a few drops of water should come out, but it shouldn't be dripping.
• Fill the containers
When the seeds are perfectly damp, pack the moistened mix firmly into your containers to eliminate air pockets. Remember, your soil level should be about 1/2 inch to 1 inch below the rim.
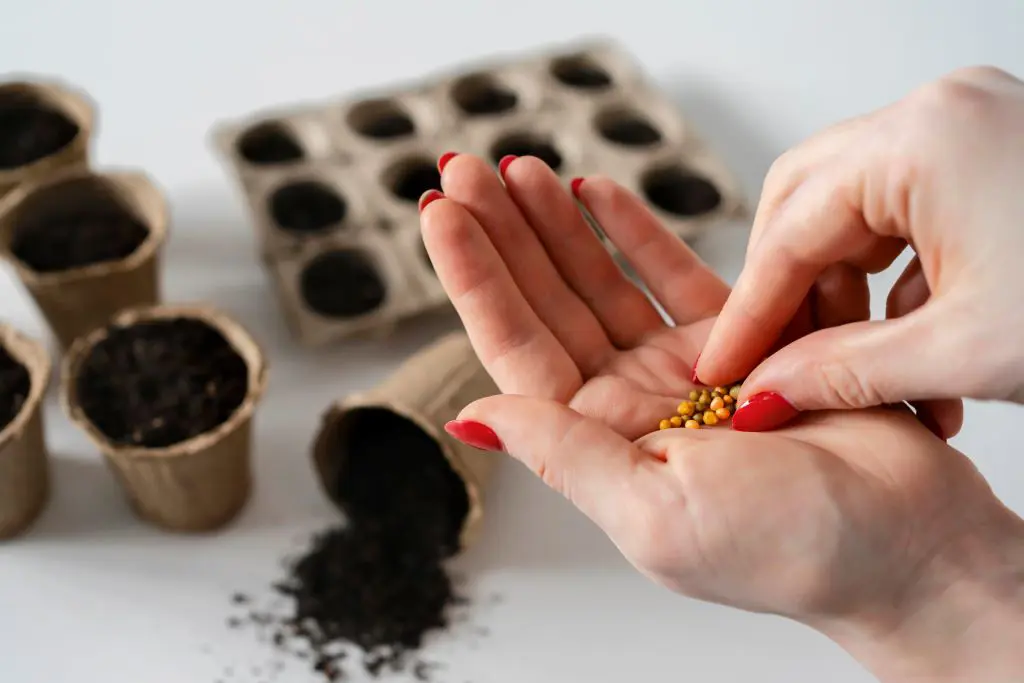
Step 2: Planting the seeds
Understanding seed germination how to and how not is like the dos and don'ts of gardening. Thus, follow these simple steps to plant your desired seeds-
• Read the seed packet
Some seeds need light to germinate (like lettuce) and should be pressed lightly onto the soil surface, while others need to be buried deeper (like beans). As each seed variety has specific planting depth requirements, you have to learn the process, so it will be better if you read the seed packet to understand the basic requirements.
• Sow the seeds
Following the instructions listed on the back of the seed packet, sow the seeds at the recommended depth and spacing. If needed, make a small indentation in the soil with a pencil or your finger.
• Cover the seeds (optional)
For most seeds, covering the container with clear plastic wrap or a humidity dome helps trap moisture and maintain warm temperatures to promote germination. So, learn from your seed supplier or trusted gardener beforehand whether your chosen seeds must be covered.
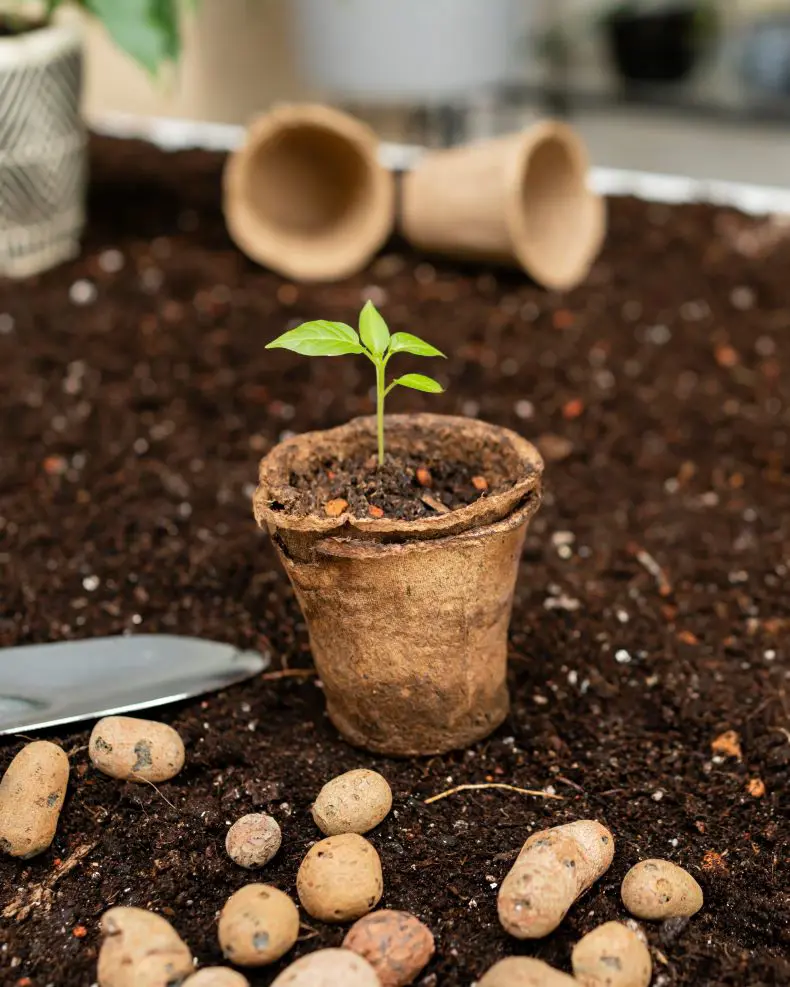
Step 3: Germination and Seedling Care
• Light
Usually, the seeds start to germinate within 7-14 days. Once it happens, remove the plastic wrap to allow for air circulation because most seedlings need plenty of bright, indirect sunlight for at least 12-16 hours per day. You can also use a grow light if natural sunlight is limited in the area.
• Watering
Water gives life so keep the soil consistently moist, but not soggy. Use a mister or a watering can with a gentle spray to avoid disturbing the seedlings. You can also set the container on a shallow tray filled with water, allowing the water to soak up through the drainage holes.
• Temperature
Maintain a warm environment for optimal germination, ideally around 70 degrees Fahrenheit.
• Thinning (optional)
If your seeds were sown too densely, you may need to thin them out once they have a few sets of true leaves. This step allows each remaining seedling room to grow strong.
• Fertilizing
When the seedlings have several sets of true leaves, you can begin fertilizing with a diluted liquid fertilizer according to the product instructions. This process generally occurs after a few weeks of seeding.
Step 4: Preparing Seedlings for Transplanting (Optional)
Once the danger of frost has passed and your seedlings have developed several sets of true leaves, you can harden them off before transplanting them outdoors. Gradually expose them to outdoor conditions for a week or two, starting with a few hours a day in a shaded location.
Then gradually increase the duration and sun exposure. Although this part is optional for most plants, some might still require this step to grow up to its full potential.
Additional Tips:
• Label your containers with the plant variety and planting date for easy reference to begin with.
• Then, never forget to rotate your containers regularly to ensure even growth.
• Be patient as germination times can vary depending on the seed type and conditions.
Stop Planting Old Seeds
Planning your desired garden starts with your seeds! So, before diving headfirst into online seed catalogues, take a moment to sort through your existing stash. Some seeds, if stored properly, can last for several years.
Therefore, follow the ideal recommendations for your seed to stay viable for up to five years in cool (around 42 degrees Fahrenheit) and dry conditions. Think of it as refrigerator temperatures with low humidity!
But your fridge is already full and who has that kind of space for a dedicated seed fridge? Most of us store seeds in less-than-optimal locations, like a closet or garage. While these places might not be perfect, seeds might still germinate for a decent amount of time with a more practical approach.
The key is to use older seeds sooner rather than later. Here's the trade-off:
• Freshness for Success
Older seeds might germinate, but the resulting plants may be weaker or yield lower. Thus, starting your endeavour with fresh seeds increases your chances of a thriving garden.
• Time vs. Cost
Rather than relying on questionable old seeds that can waste your time and effort and the sprouts may never come! So, it will be wise to spend a few extra dollars on fresh seeds, which is a better investment for your time and garden's potential.
Seed Life by Category:
Not all seeds are created equal so here's a guide to help you manage your seed stash:
• Up to 1 Year: Onions (use these first!)
• Up to 2 Years: Fennel, Parsley
• Up to 3 Years: Sweet Corn, Leeks, Okra, Parsnips, Sage
• Up to 4 Years: Beans, Carrots, Peas, Chamomile, Cilantro, Dill, Lavender, Marjoram, Mint, Oregano, Rosemary, Thyme
• Up to 5 Years: Beets, Broccoli, Brussels Sprouts, Cabbage, Cauliflower, Celery, Collards, Eggplant, Kale, Kohlrabi, Peppers, Radish, Rutabaga, Soybean, Spinach, Swiss Chard, Turnip, Watermelon
Always remember that this is a general guideline and seed viability can be affected by storage conditions and seed quality. So, don't forget to label your seeds with the date you purchased them! This will help you prioritize planting the older seeds first.
Best Seeds to Germinate Outdoors
Choosing the best seeds to germinate outdoors depends on a few factors, such as your climate, planting season, and personal preferences. Here are some of the easiest vegetables, herbs, and flowers starting from seed to grow outdoors in direct sunlight:
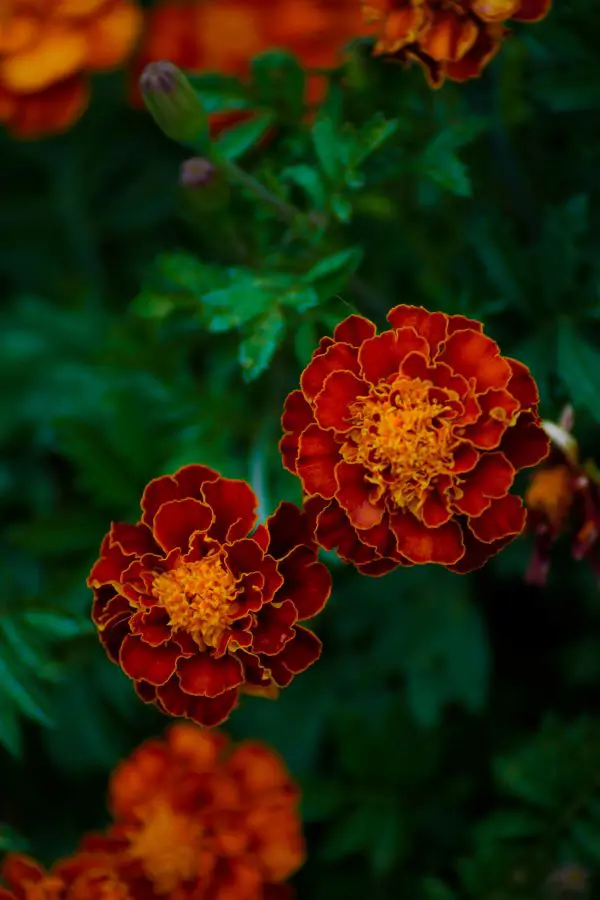
Flowers:
• Zinnias
• Marigolds
• Cosmos
• Sunflowers
• Calendula
Herbs:
• Basil
• Cilantro
• Dill
• Parsley
• Chives
Vegetables:
• Lettuce
• Radishes
• Beets
• Peas
• Beans
Best Seeds to Germinate Indoors
As mentioned above, all seeds grow in different environments. Some thrive outdoors in bright sunlight, whereas some grow indoors much faster and easier. Therefore, here are some of the best seeds to start your gardening journey that successfully germinate indoors:
Flowers:
• Impatiens
• Salvia
• Snapdragons
• Petunias
• Begonia
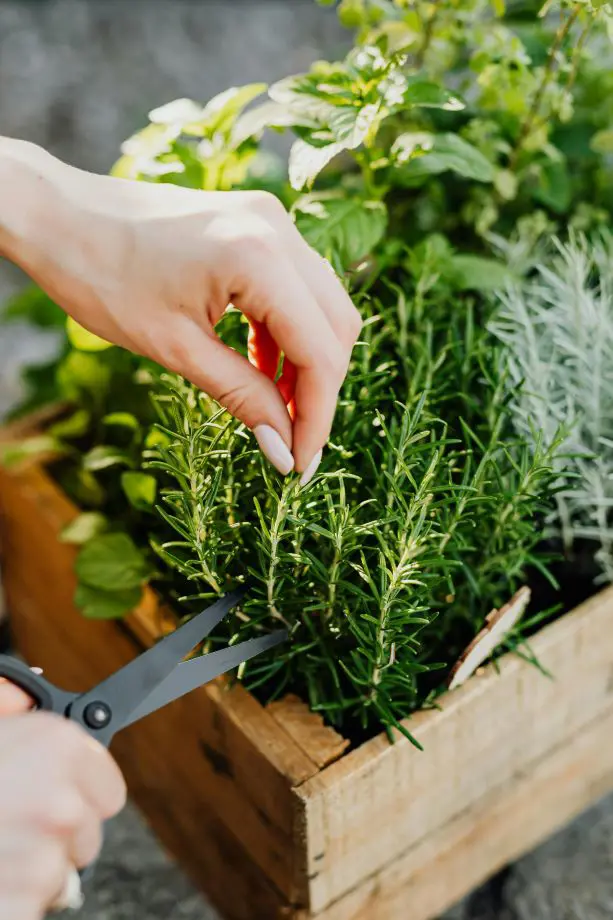
Herbs:
• Rosemary
• Thyme
• Parsley
• Cilantro
• Basil
Vegetables:
• Broccoli
• Eggplant
• Peppers
• Tomatoes
Additional Resources for Successfully Starting Seeds

Be it online or offline, there are many resources available in the market to help you successfully start seeds indoors or outdoors. Many online seed catalogues provide detailed seed-starting information on their websites or seed packets. These resources come with specific germination instructions and recommendations for each type of seed you plan to grow.
Seed Starting Forums and Online Gardening Communities:
Seed-starting forums and online gardening communities allow you to connect with experienced gardeners and ask questions. Here are two options that show the difference between plant seeds how to and how not to:
• GardenWeb: Seed Starting
• Reddit: r/seedstarting
Seed Starting Videos:
There are many helpful seed-starting videos available online, especially on YouTube, which is a great platform for finding tutorials and demonstrations on various seed-starting techniques. By combining the information you learned here with these additional resources, you'll be well on your way to seed-starting success!
But if you believe in reading books or watching videos, here are a few books that might be helpful:
• Seed Savers Exchange: Seed Saving & Starting Guides
• National Gardening Association: Starting Seeds Indoors
• Johnny's Selected Seeds: How to Start Seeds Indoors
Was this article helpful?


How to Plant, Grow and Care for Peace Lily
How to Plant, Grow, and Care for Snake Plant
How To Grow, Care and Bloom Orchid Plant

How to Plant, Grow and Care for Basil
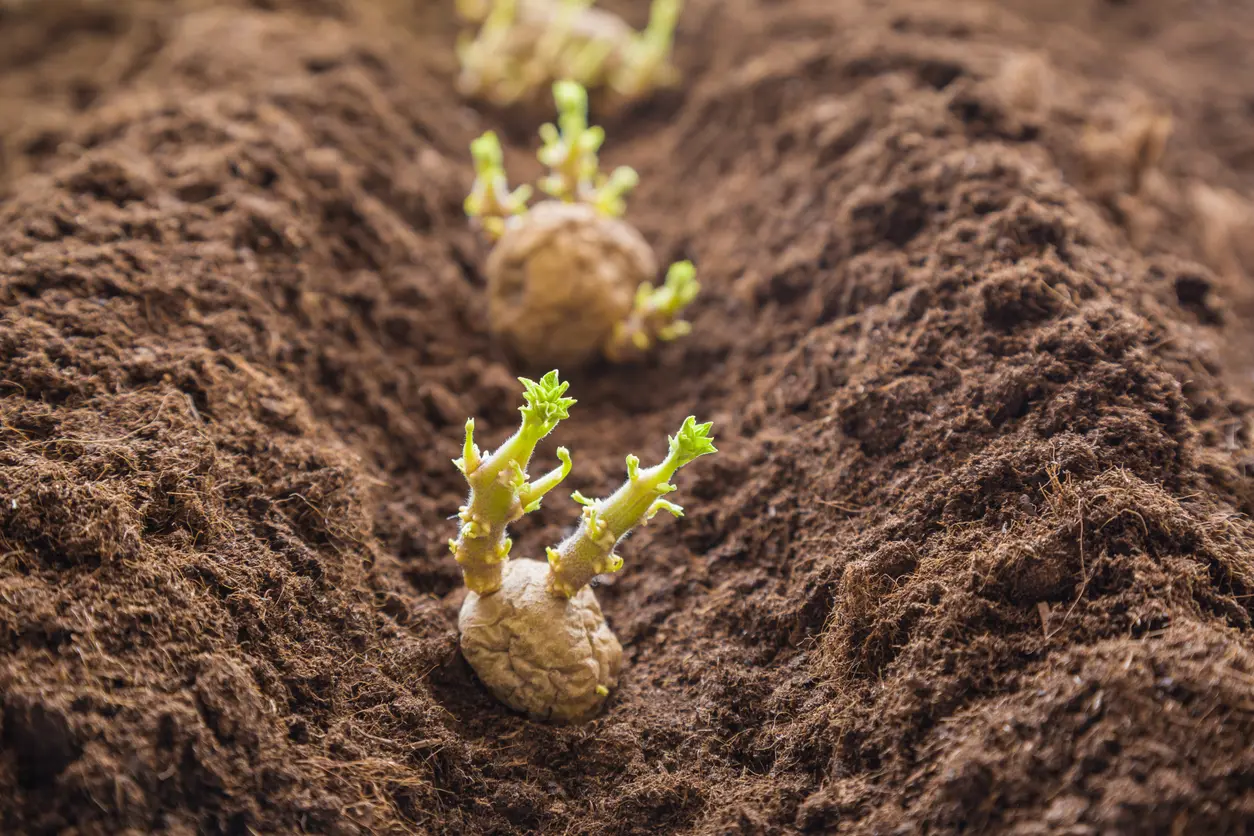
How To Plant, Grow, And Harvest Potatoes
How to Plant, Grow and Harvest Garlic