How To Repot A Plant Without Killing It

If you are a novice plant parent, you will have to learn how to repot a plant at some point. Repotting is a crucial step in caring for your beloved houseplants. This process involves transferring your plant to a larger container to accommodate its growing root system.
Done correctly, how to repot a plant can rejuvenate your greenery, promoting healthier growth and preventing rootbound stress. If you are enthusiastic to learn how to repot plants, follow a few simple guidelines mentioned below to ensure they thrive in their new home.
1. Choose the Right Pot
Whether you are learning how to repot a plant or wondering how to repot flowers, it always starts with choosing the right pot. Choose one that is slightly larger than the current one. A pot that is 1-2 inches larger in diameter than the existing pot is ideal for repotting of plants.
This provides enough room for root growth without overwhelming the plant with too much extra soil, which can potentially lead to root rot. Additionally, ensure the pot has drainage holes at the bottom to help maintain healthy root conditions.
2. Prepare the New Pot
After choosing your pot, you want to set it up to provide a healthy environment for your plant's roots. Start by placing a layer of fresh potting mix at the bottom of the new pot. This layer should be thick enough to create a base for the root ball.
The potting mix helps with drainage and supports healthy root growth. This ensures the roots will not be waterlogged, which can lead to root rot. The mix should be evenly distributed, and the pot’s drainage holes should be unobstructed.
3. Water the Plant
Watering the plant a day before repotting helps make the process easier and less stressful for the plant. When the soil is moist, it becomes more pliable and less likely to crumble when you remove the plant from its pot.
This moisture also softens the root ball, making it easier to slide out without damaging the roots. Additionally, well-watered soil helps prevent the roots from drying out during the repotting process. Just be careful not to overwater; the soil should be damp but not soggy.
4. Loosen the Plant
To loosen the plant from its pot, gently squeeze the sides of the container, which helps release the root ball from the walls. If the pot is plastic, this action makes it easier to slide the root ball out.
For stubborn pots, tap the pot’s edge against a hard surface or use a butter knife to separate the soil from the pot’s sides carefully. If you are dealing with a clay pot, you might need to be more cautious to avoid cracking it.
5. Remove the Plant
Once the plant is loose, support its base with one hand and use the other to wiggle and pull it out carefully. Avoid pulling on the stem or leaves, as this can damage the plant.
If the plant is still stuck and you are using a plastic or lightweight pot, you can carefully cut the pot away. Make vertical cuts down the sides, then gently slide the plant out of its pot, supporting the base of the plant.
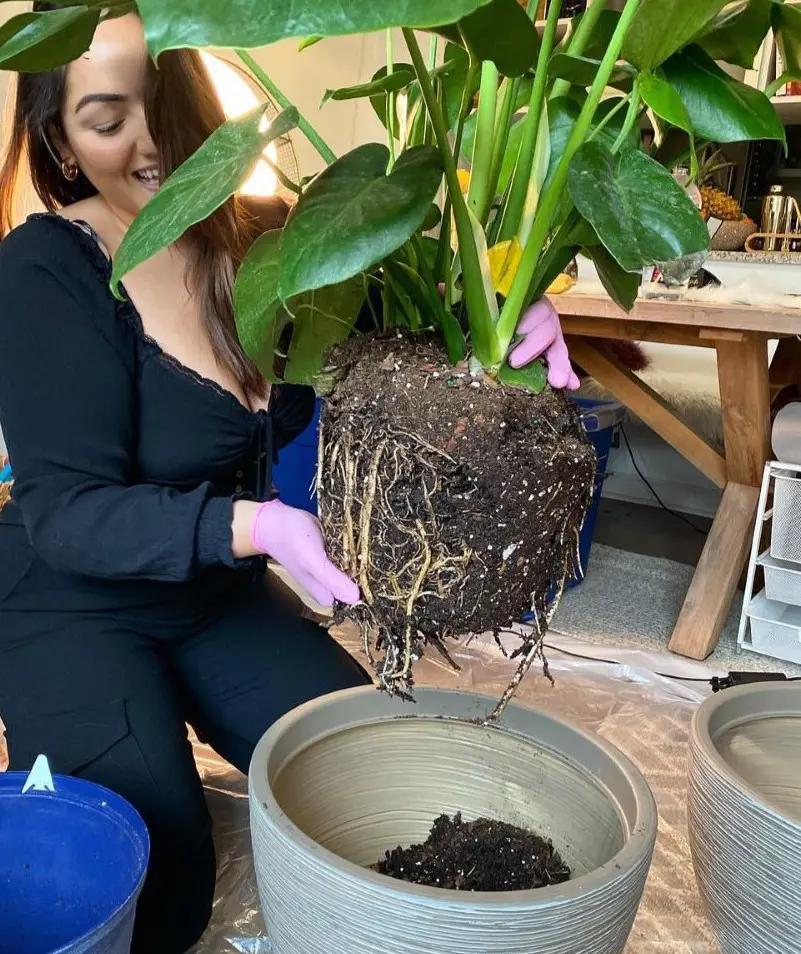
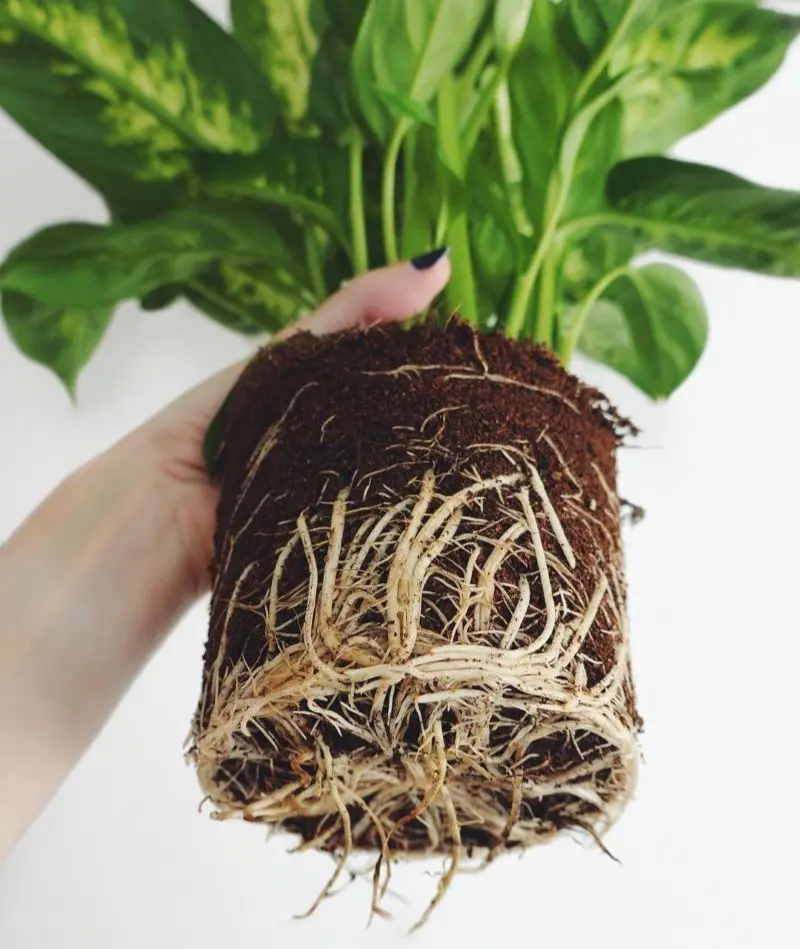
6. Inspect the Roots
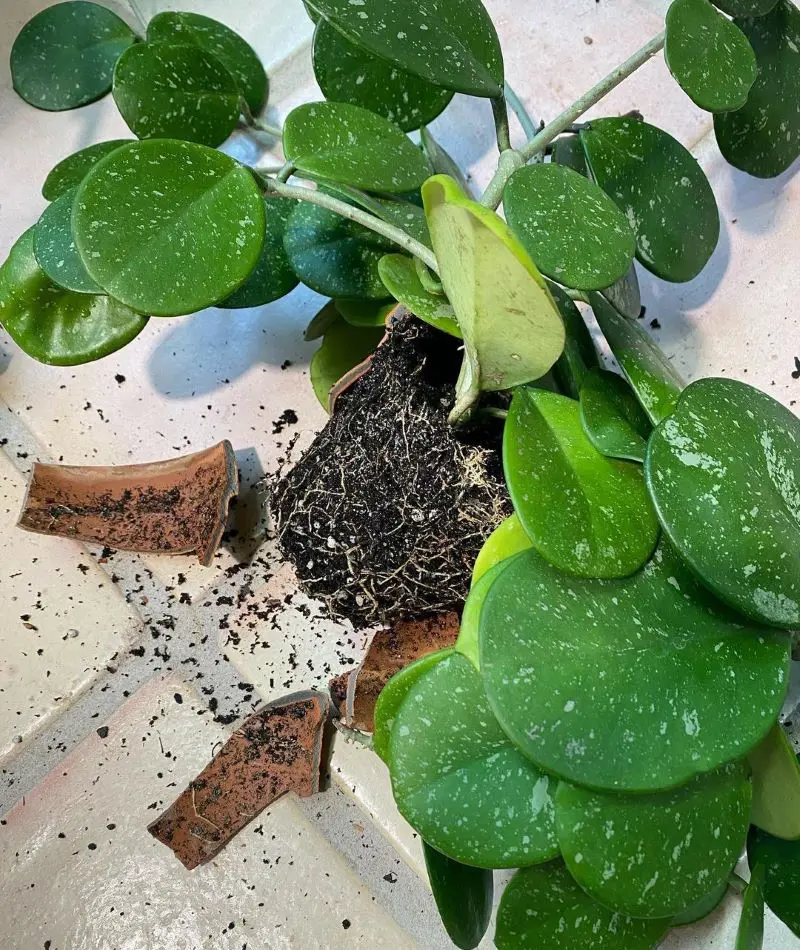
When inspecting the roots, examine the root ball. Look for any roots that are brown, mushy, or have a foul odor—these are signs of rot and should be trimmed away with clean scissors or pruning shears. Use clean pruning shears to cut away the rotten sections, making clean cuts.
Trim back to where the roots look healthy and firm. This practice can encourage healthy new growth. Also, check for any roots tightly circling the root ball, as these can become root-bound and hinder growth.
7. Loosen Root Ball
Loosening the root ball involves gently untangling and separating any roots that have started circling the root mass. Begin by holding the root ball in one hand and using your fingers to gently tease apart the roots, working from the bottom up.
If the roots are densely packed or tightly wound, you may need to use a clean pair of scissors or pruning shears to make small cuts to free them. This process helps the plant establish itself more effectively in its new pot.
8. Add Potting Mix
In step 2, we placed a layer of fresh potting mix at the bottom of the new pot but had not filled it up yet. Now that we have removed the plant from the pot and seen the roots, we can fill the new pot with an ideal quantity of soil.
After adding the soil, gently pat it down. The goal is to have enough soil so that the top of the plant root ball will be level with or slightly above the rim of the new pot.
9. Position the Plant
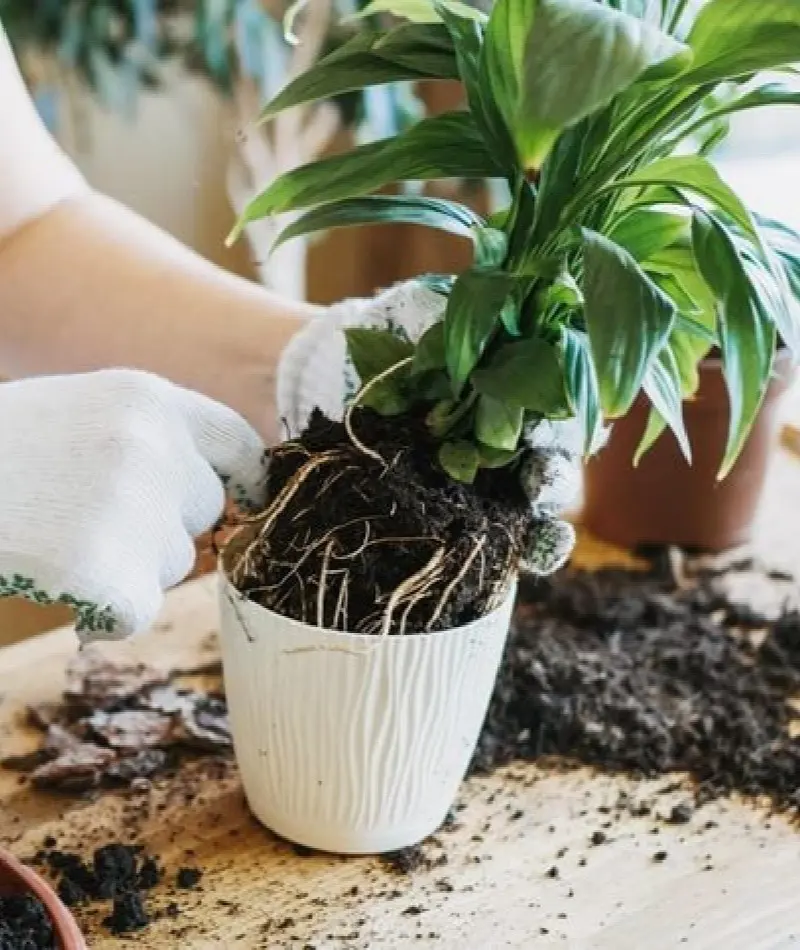
Positioning the plant correctly in its new pot is crucial for its health. Start by holding the plant in the new pot and adjusting its height so the top of the root ball is level with the pot rim.
This ensures the plant is planted at the same depth it was in its previous pot. If the root ball is too low, the plant might sink, causing root rot. If it is too high, the roots might dry out. Ensure the plant is centered and stable.
10. Fill with Soil
Start by adding the potting mix around the root ball of the plant. Use your hands or a small trowel to gently pack the soil around the roots, ensuring it reaches all the spaces and fills any gaps.
Press the soil down lightly to eliminate air pockets, but avoid compacting it too tightly, as roots need space to grow and expand. The soil level should be slightly below the pot rim to allow room for watering. Make sure the plant is centered and upright.
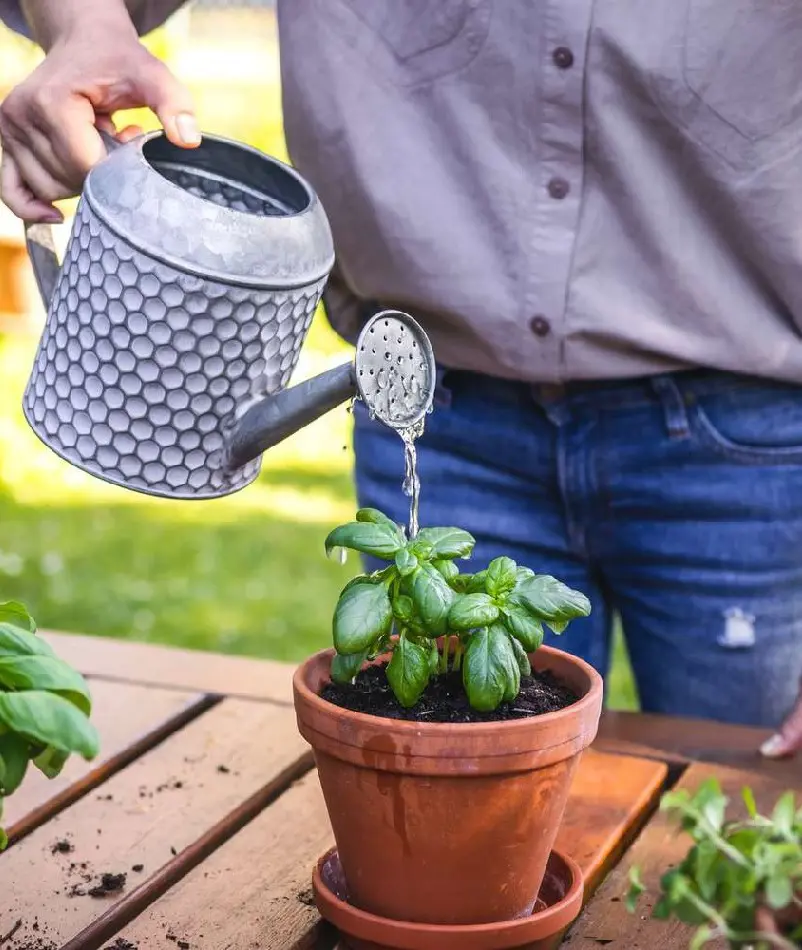
11. Water Thoroughly
After placing the plant in its new pot and adding soil around the root ball, it is crucial to water thoroughly to help the plant settle in. Start by watering the plant slowly and evenly, allowing the water to soak into the soil and reach the root zone.
This helps eliminate air pockets that may have formed during repotting and ensures the soil is properly moistened around the roots. Continue watering until you see excess water beginning to drain out of the bottom of the pot. This indicates the soil has been sufficiently saturated.
12. Check for Stability
After adding the potting mix around the root ball, ensure the plant is securely positioned and upright. Gently tap the pot on a surface or press lightly on the soil to help settle it around the roots. This ensures that the plant will not wobble or lean, which can stress the plant and hinder its growth.
If the plant shifts or seems unstable, add more soil around the base to fill gaps and provide additional support. The goal is for the plant to stand straight and be well-supported in its new pot.
13. Place in the Right Spot
After repotting, place your plant in a location that matches its light requirements. If it needs bright, indirect light, position it near a window with filtered sunlight. For plants that thrive in low light, a spot further from the window or in a room with less natural light is ideal.
Avoid direct sunlight immediately after repotting, as it can stress the plant. Monitor how the plant responds to its new spot and adjust its location if you notice signs of too much or too little light.
14. Monitor and Adjust
After repotting, place your plant in a location that matches its light requirements. If it needs bright, indirect light, position it near a window with filtered sunlight. For plants that thrive in low light, a spot further from the window or in a room with less natural light is ideal.
Avoid direct sunlight immediately after repotting, as it can stress the plant. Monitor how the plant responds to its new spot and adjust its location if you notice signs of too much or too little light.
15. Avoid Fertilizing Immediately
After you repot a plant, it is wise to hold off on fertilizing for a few weeks. Fertilizer can be too intense for a newly repotted plant, which might still be adjusting to its new environment.
During this period, the plant is focusing on acclimating and developing new root growth. Adding fertilizer can overwhelm it and lead to poor growth or damage. Instead, let the plant settle into its new pot and show signs of healthy growth. Once it seems established, you can gradually reintroduce fertilization.
Reasons to Repot Plants
Repotting plants is essential for their health and growth. You should consider repotting when:
Slow Growth
If your plant’s growth slows despite regular care, it might indicate that it has outgrown its current pot. Plants require space for their roots to expand and access nutrients and water. When they become root-bound, their growth can stall because they are confined, and their roots may not be effectively absorbing resources.
This can lead to a decline in overall health and vitality. Repotting the plant into a larger pot provides more room for root expansion, helps stimulate growth, and improves the plant’s well-being.
Root Bound
When a plant is root-bound, its roots have outgrown their current pot and are circling or growing out of the drainage holes. This happens when the plant has been in the same pot for too long, and the root system has become densely packed.
You might notice roots emerging from the bottom or sides of the pot, or the plant might be difficult to remove because the roots are tightly wound. Being root-bound can limit the plant’s ability to take up water and nutrients.
Soil Degradation
When the soil in your plant’s pot starts to degrade, it can become compacted or lose its ability to drain properly. This happens over time as the soil breaks down and its structure changes. Compacted soil restricts root growth and prevents the plant from getting enough water and nutrients.
If you notice that the soil is dry on top but soggy underneath, or if it has become dense and hard, it is a sign that the soil needs replacing. Repotting revitalizes the plant's growing environment.
Plant Size
When a plant becomes top-heavy, its growth is disproportionate compared to the size of its pot. This can happen when the plant’s roots have outgrown the pot, making the plant unstable or causing it to lean.
A top-heavy plant can be difficult to manage and might even topple over. Repotting into a larger pot provides more space for the roots to expand, which helps balance the plant and supports its continued growth. It also ensures that the plant has enough room to thrive.

Pest or Disease Issues
If a plant has pest or disease problems, repotting can help manage and even solve these issues. Pests like root aphids or soil gnats and diseases such as root rot can linger in the soil and continue to affect the plant.
By removing the plant from its old pot and freshening it up with a new potting mix, you can eliminate the contaminated soil and reduce the risk of ongoing problems. Additionally, repotting gives you a chance to inspect the roots for any signs of damage or infection.
Ideal Time for Repotting
The ideal time for potting a plant in a new pot is during their active growing season, typically in spring or early summer. During this period, plants emerge from their winter dormancy and enter a period of active growth.
- They are energized and better able to handle the stress of repotting. The warmer temperatures and increased light levels stimulate new root growth, which helps the plant adjust to its new pot and soil more quickly.
- Repotting during this period also allows the plant to capitalize on the favorable growing conditions, leading to a faster recovery and stronger growth.
- If repotting is done during the dormant season, such as late fall or winter, the plant may struggle due to lower light levels and cooler temperatures, which can slow its recovery and growth.
When to Avoid Repotting
Avoid repotting plants during their dormant season, which typically occurs in late fall and winter. During this time, most plants slow down their growth or enter a rest phase, conserving energy rather than producing new roots or foliage.
This natural pause allows the plant to focus on maintaining its current state rather than expanding its root system or producing new leaves. Repotting during dormancy can be particularly stressful for plants because they are not actively growing, and may struggle to adapt to new soil or a larger pot.
The disturbance of their roots during this period can lead to stunted growth or even damage, as the plant lacks the vigor to recover quickly. The colder temperatures and reduced light levels common in winter can further impede the plant's ability to establish itself in its new environment, increasing the risk of transplant shock or decline.


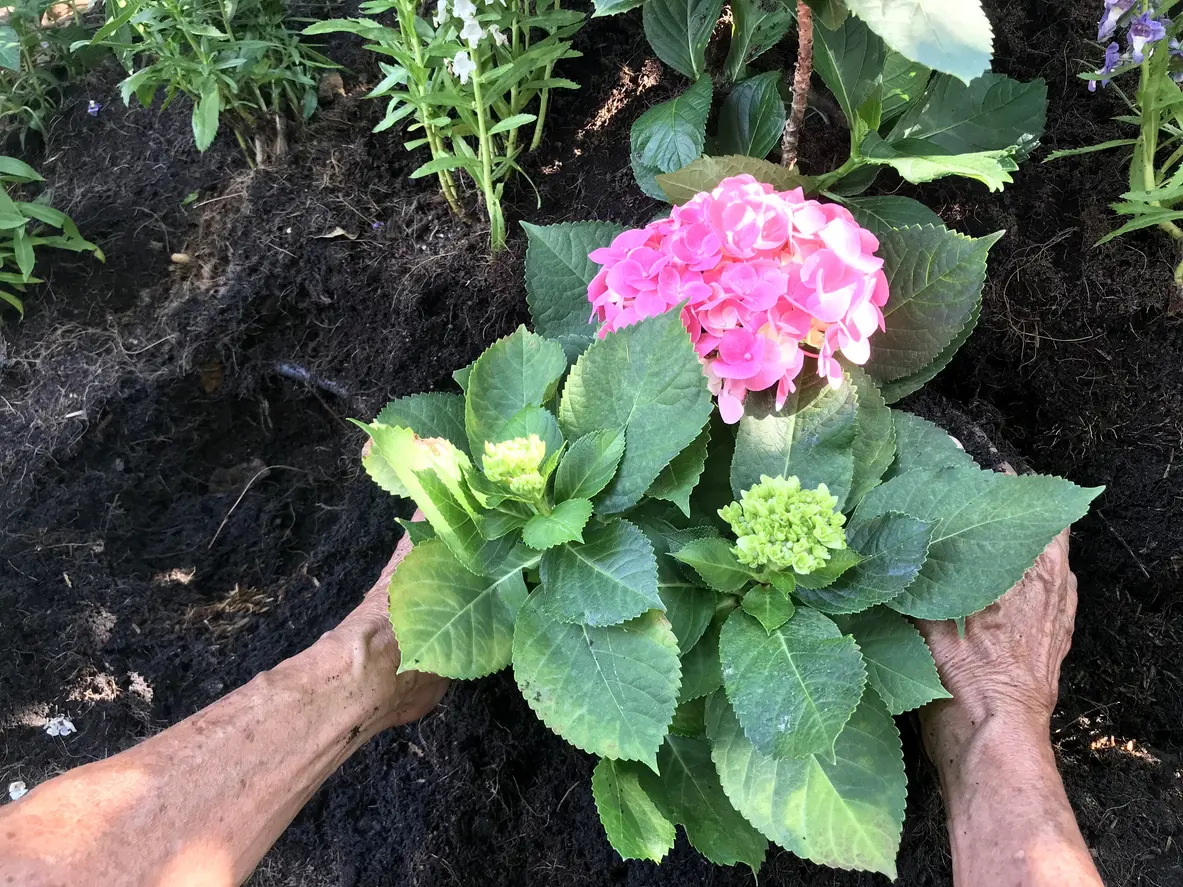
Hydrangea Caring and Growing Guide
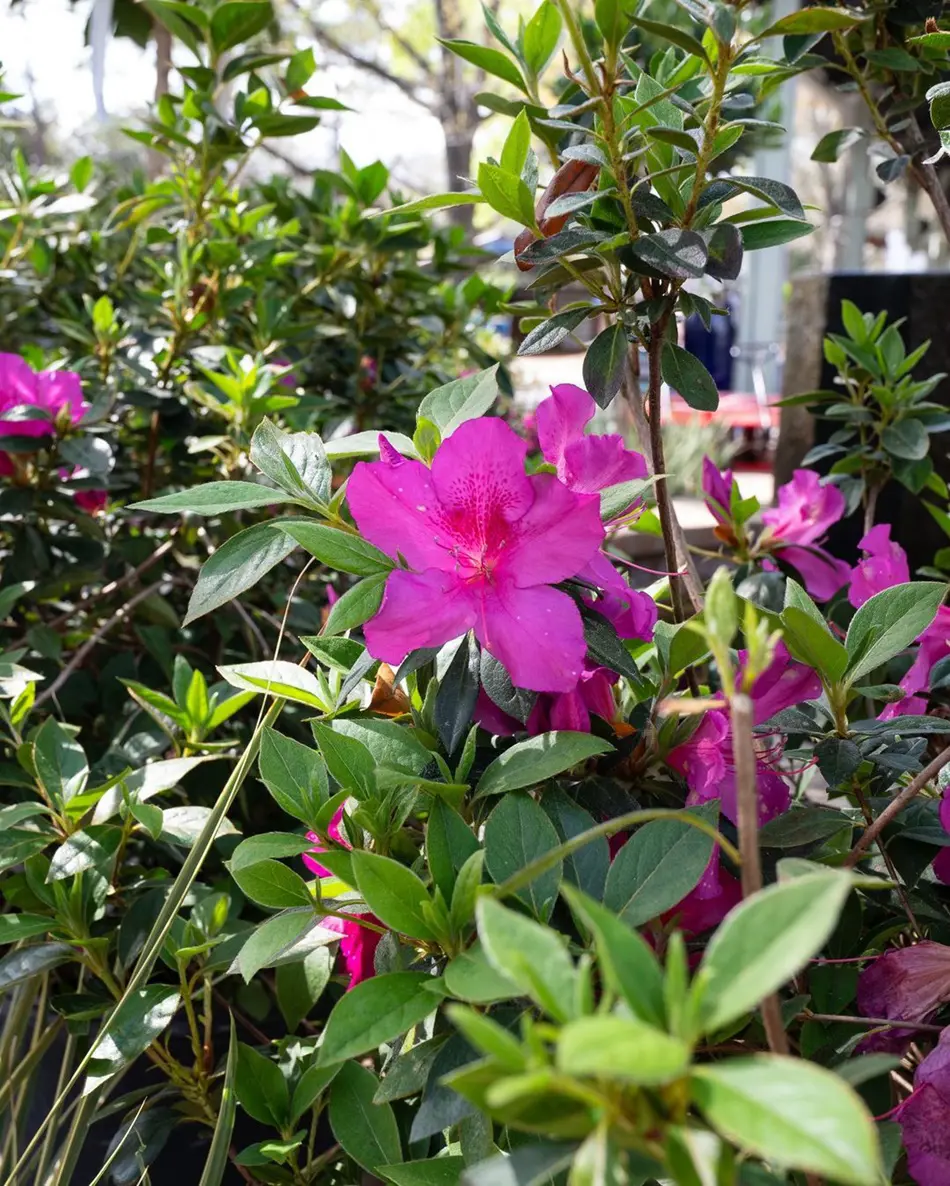
How And When To Prune Azaleas For Optimal Growth
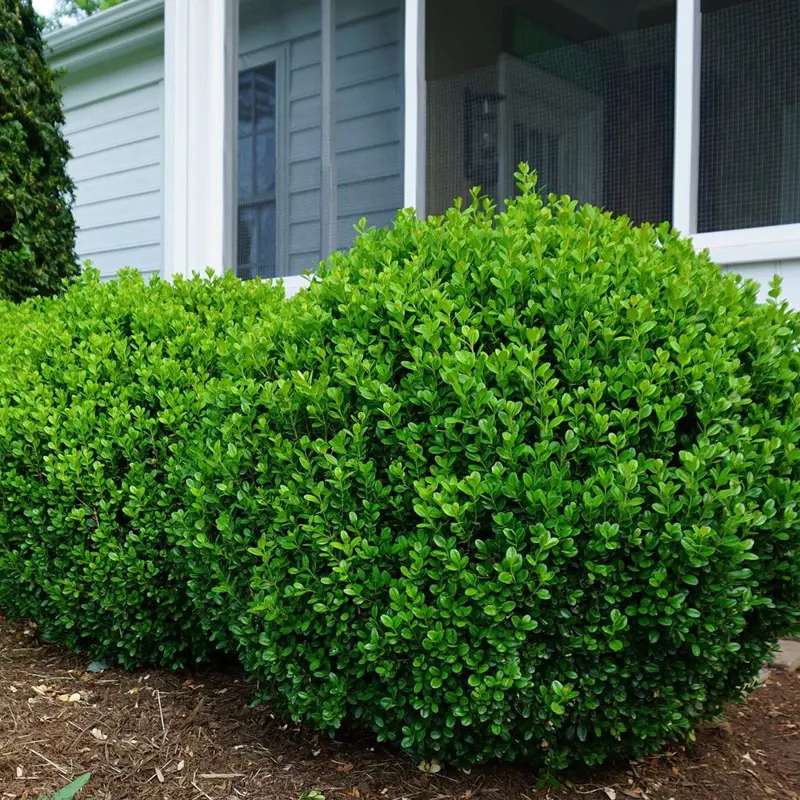
How And When To Prune Boxwood Shrubs
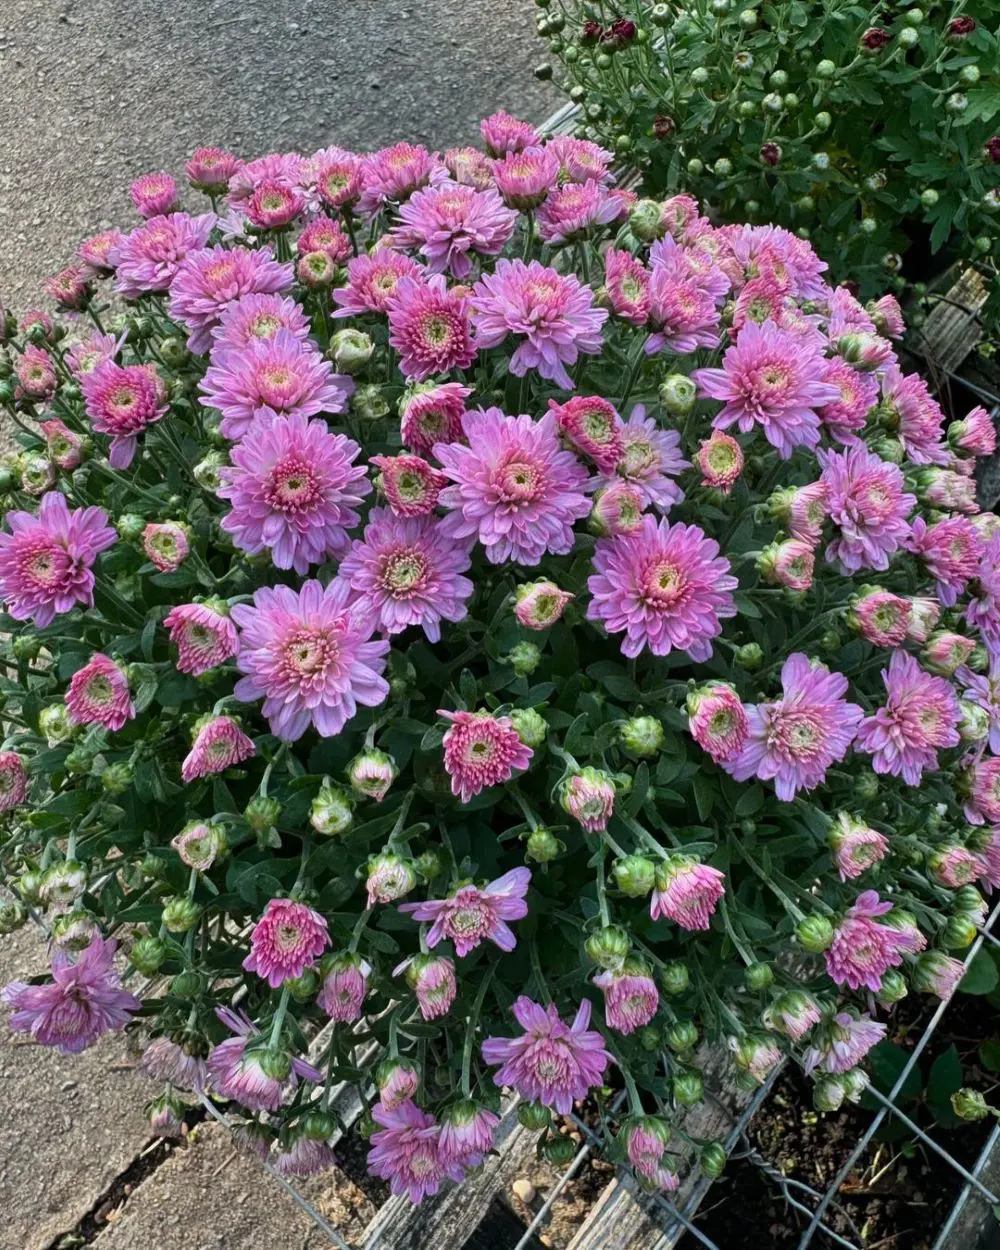
How To Care For Mums All Season
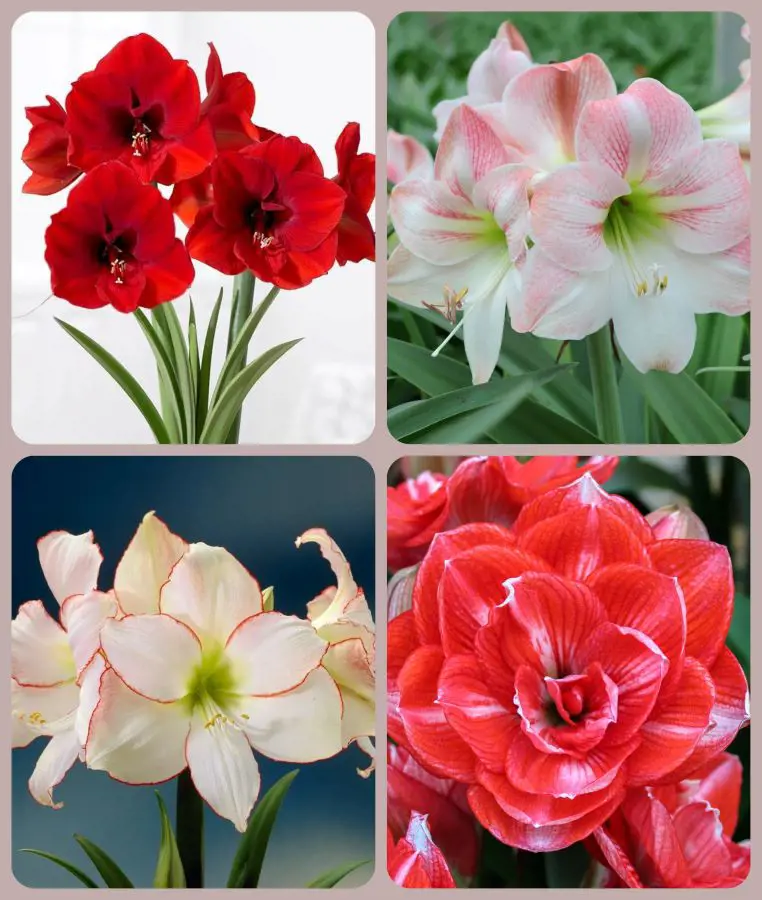
How To Care For An Amaryllis Plant: Before and After Blooming Ideas
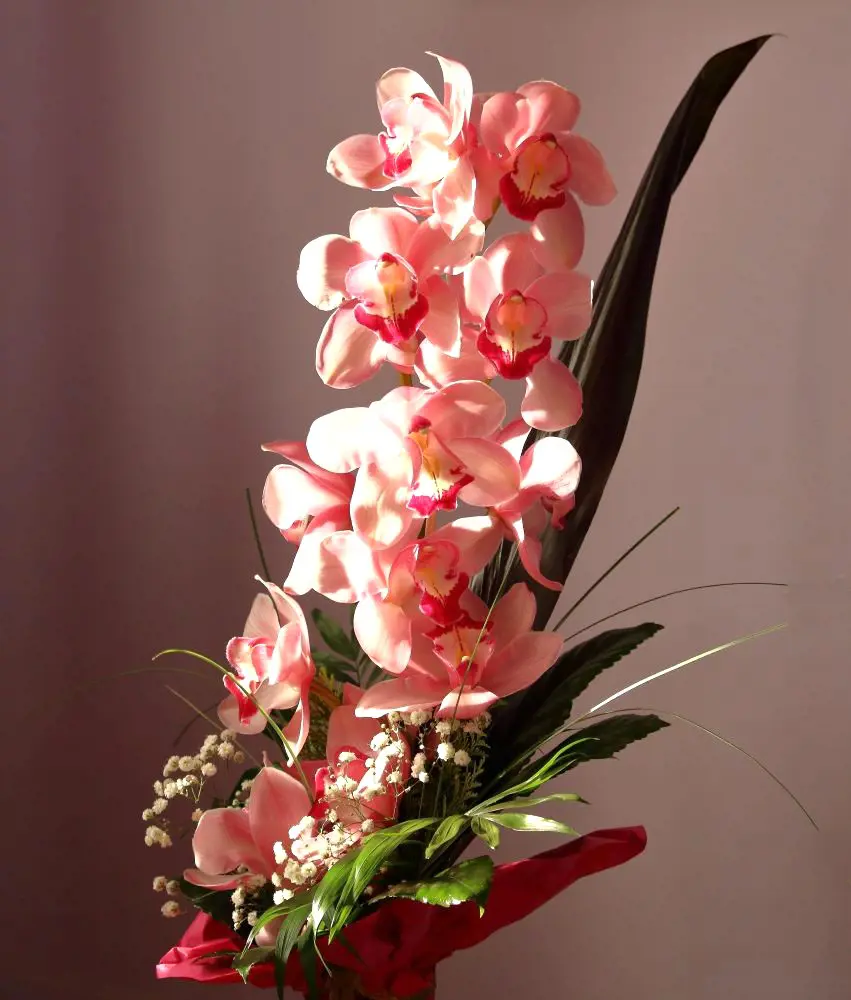
How To Take Care Of An Orchid Plant? 11 Tips And Tricks